

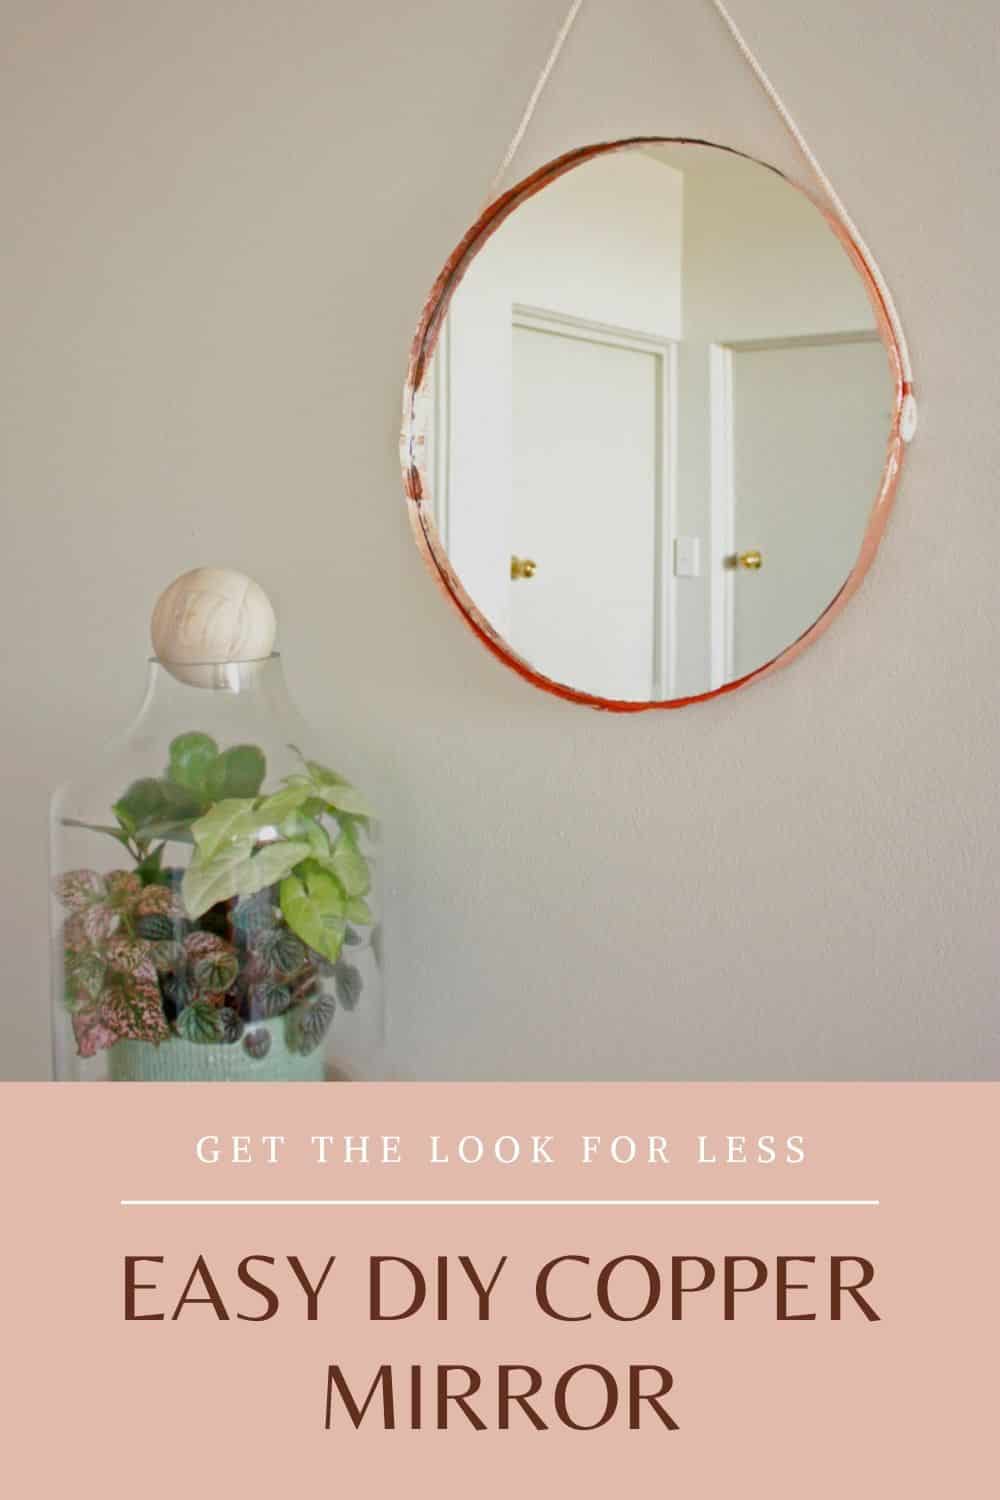
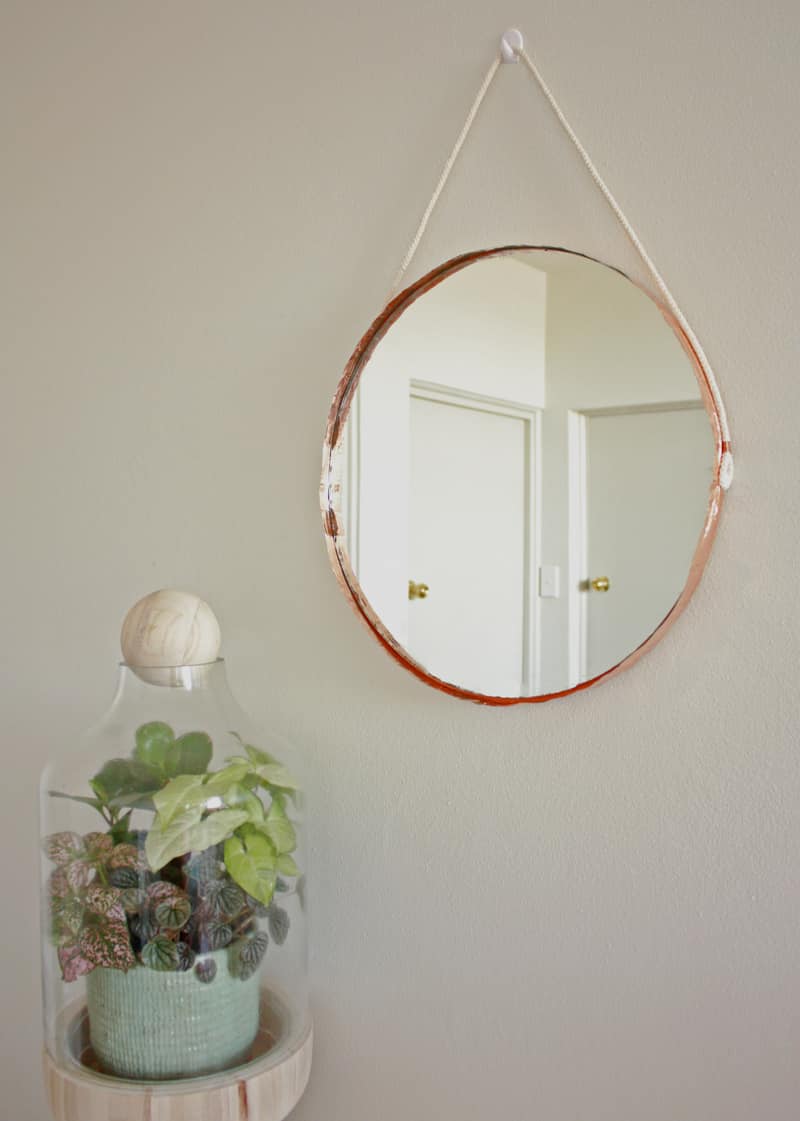
DIY Mirror Frame
Don’t be afraid, this is easier than it looks. Promise!
If you’re hip to be square you’ll have noticed copper EVER . HER . REY . WHERE
So let’s get on that bandwagon and get some copper up in hur!
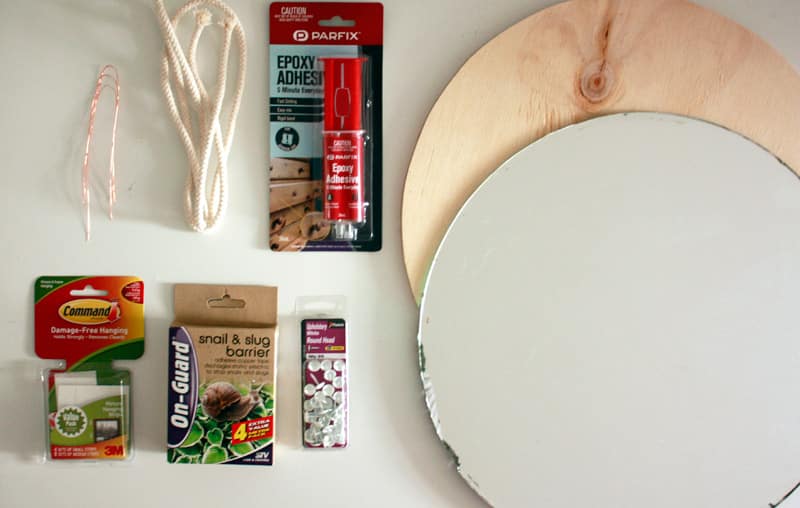
What you need to DIY your Mirror
– A round mirror. Any size. It might be a good idea to have a look in some second hand stores for a shabby mirror you can refurbish
– 10mm thick circle of plywood
– Copper Tape – I used On Guard A sticky copper tape which is a snail and slug deterrent (it gives them a little zap when they slide over the tape)
– Upholstery pins or tacks
– Adhesive or super glue
– Length of rope – the length is up to you, as to how big your mirror is and how much you want your mirror to hang down will determine how much rope you need.
– Copper wire for the frame
Optional
To secure my mirror to the wall I used 3M picture handing strips and a 3M picture hook to hang the rope up because I am in a rental apartment and can’t got to town on my walls with a hammer so I highly recommend the hanging strips as they will adhere your mirror really well to the wall without having to get some of the more ugly hooks that are available.
What to do
If you have a pre cut circle of wood congratulations you’ve won our lucky door prize! If you don’t then measure your mirror and either trace around it or mark it out on your plywood to use as a guide to cut out your circle of wood with a jigsaw.
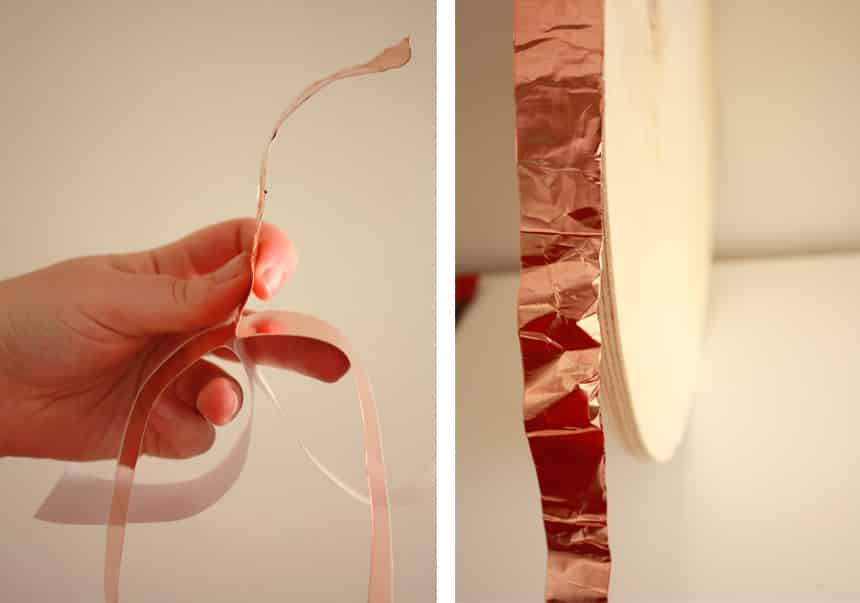
Once you have your circle measure the circumference and with that measurement, measure out the length of copper tape for the DIY Mirror Frame you will need.
If you are going to use the On Guard copper tape this has one sticky side so I doubled my circumference and folded it in the exact middle and then cut it in half so I had 2 pieces. Once I had the 2 pieces I peeled off the backing paper of both piece and stuck the 2 sticky sides together (this is pretty tricky to begin with but once you get started the bus pretty much drives itself, just take your time)
Once you’ve made your tape, place your wooden circle on its edge and apply a small amount of glue to the edge and press one end of the tape onto the glue, continue to add small amount of glue pressing the tape on the edge being carefully to hold the wood on it side so it doesn’t fall over. Leave the glue to dry for a couple of hours
When the glue has dried mark a point on each side of the copper tape where you want to anchor your rope and tacks to the wooden circle. This is best done at the widest part of the circle.
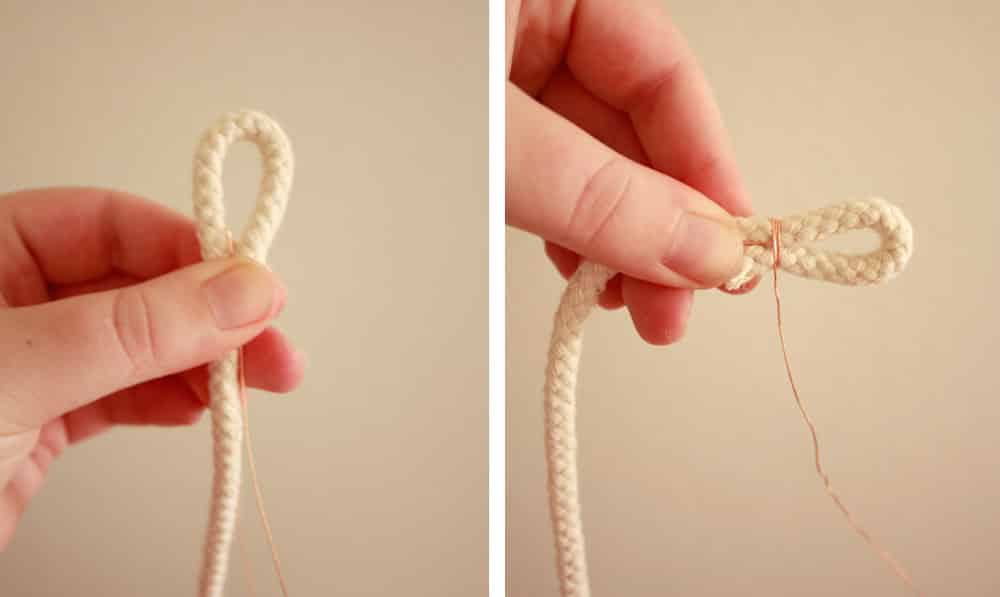
Lay your mirror on a flat surface and measure the length of rope you want to suspend you mirror and add an extra 2.5 cms to allow for your loop. Once you’ve got your desired length, take one end and fold the end over on itself holding between your fingers wrap the edge together to secure the ends together creating a loop. Then do the same to the other end of the rope.
With one upholstery pin hammer in part way into to the wood then loop one end of your rope over the pin and then hammer over the rope to secure. Repeat with the other end.
Nearly there!!!
Ok now lay your wooden backing on a flat surface then with your adhesive/glue spread down a sufficient amount of glue and carefully place your mirror, back side down and press firmly in place. Leave for 24 hours to dry completely before hanging.
Voila your DIY Copper Mirror Frame is complete:


No comments yet. Be the first one to leave a thought.